Guitar purists’ look away because today we are doing guitar art!
Watch as I turn this beautiful looking Maton Guitar…
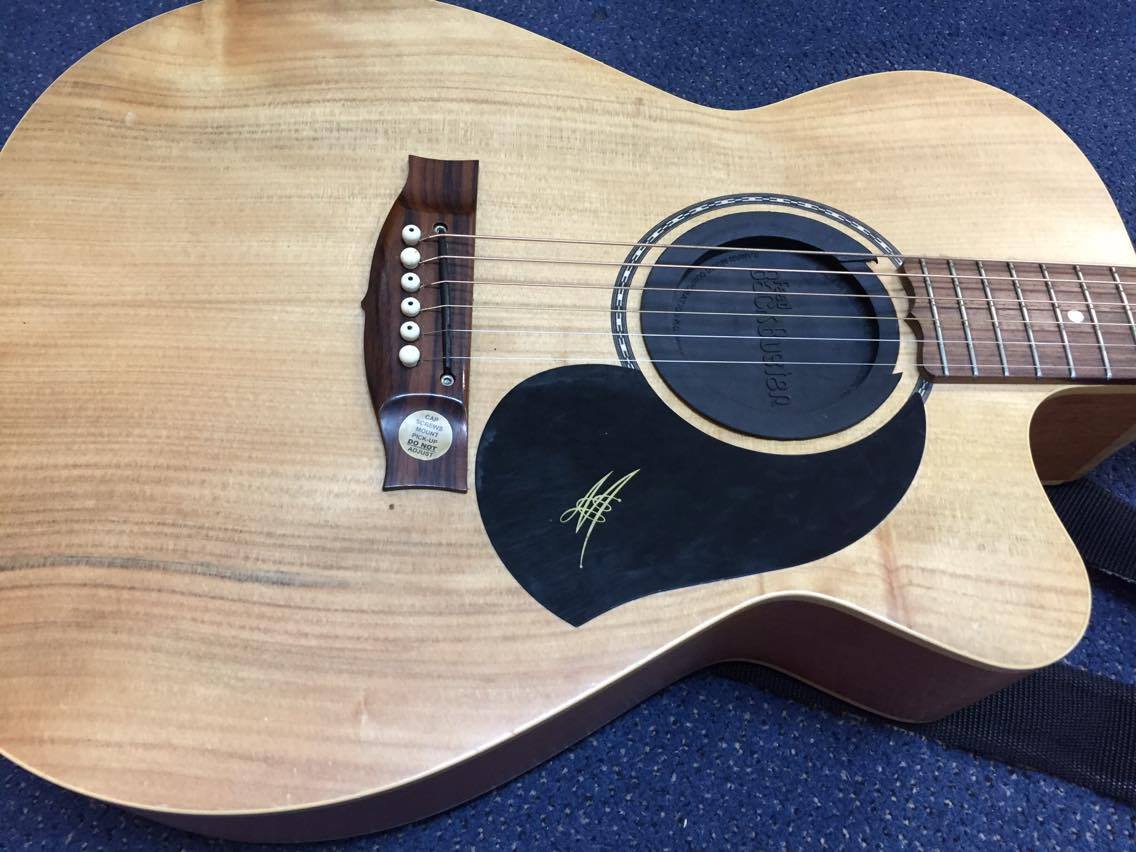
Into this crazy looking motherfucka!…
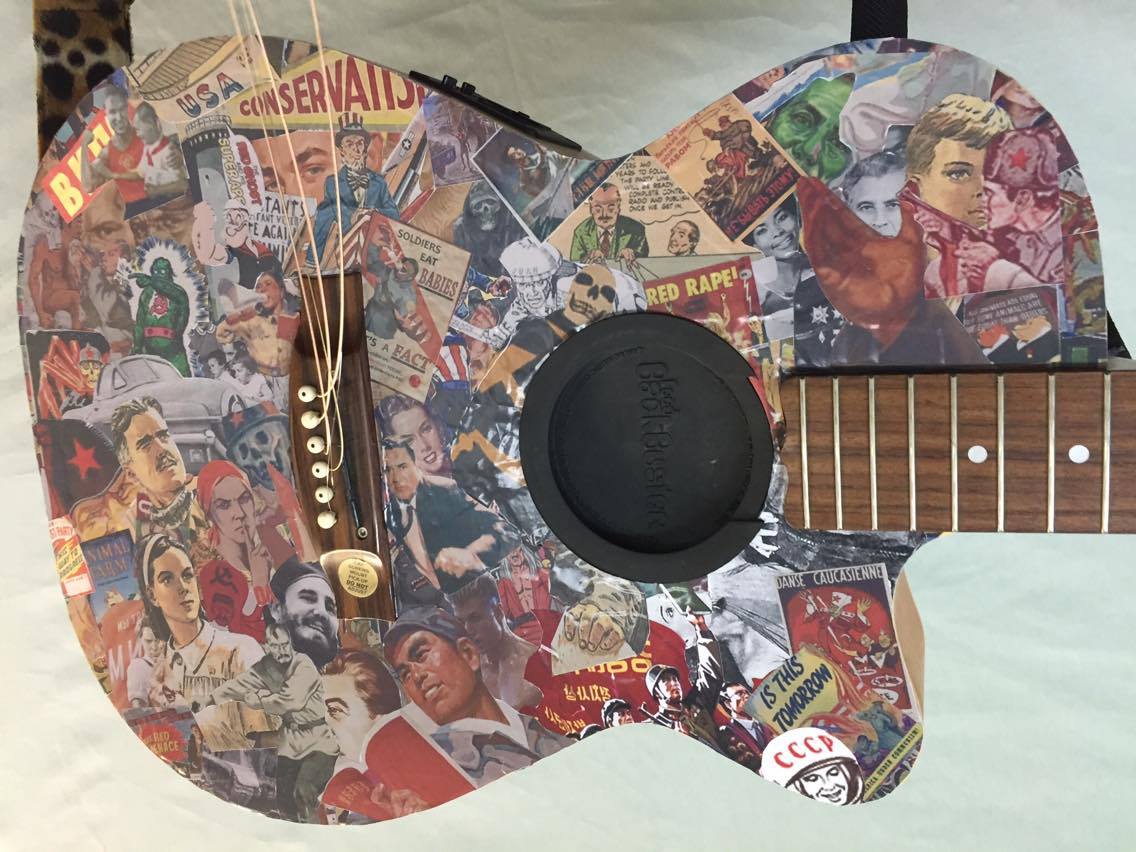
Not so long ago I had one of those creative urges to build a huge collage (As you do!). The theme would be pro and anti communist propaganda (with a splash of WW2 and pop culture) from all around the world. It was so much fun! I had a little bit of experience with this kind of imagery through my political studies at uni but I had no idea how extreme it could be… Here are some examples..
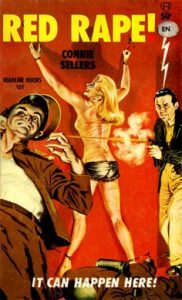
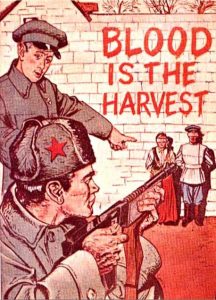
Not all of the imagery was authentic, some of posters were recent creations like this one below…
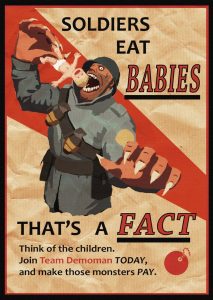
This one in particular is quite confronting but it is not real. This was ‘fan art’ created by ‘Tanktaur’ for Team Fortress 2, a 1st person shooter game. The poster was mistakenly used in a documentary about Anti German propaganda! Having said that, this is certainly consistent with the sort of messages that were told to citizens during WW2 and the anti/pro communist era. So even though these images are not real I thought they could still work in the collage.
Step 1 – I started building the collage in Photoshop. I would take a piece of an image or poster and place it in the collage, then repeat the process, layer after layer. All up, it took about a day to finish and I was pretty happy with the result.
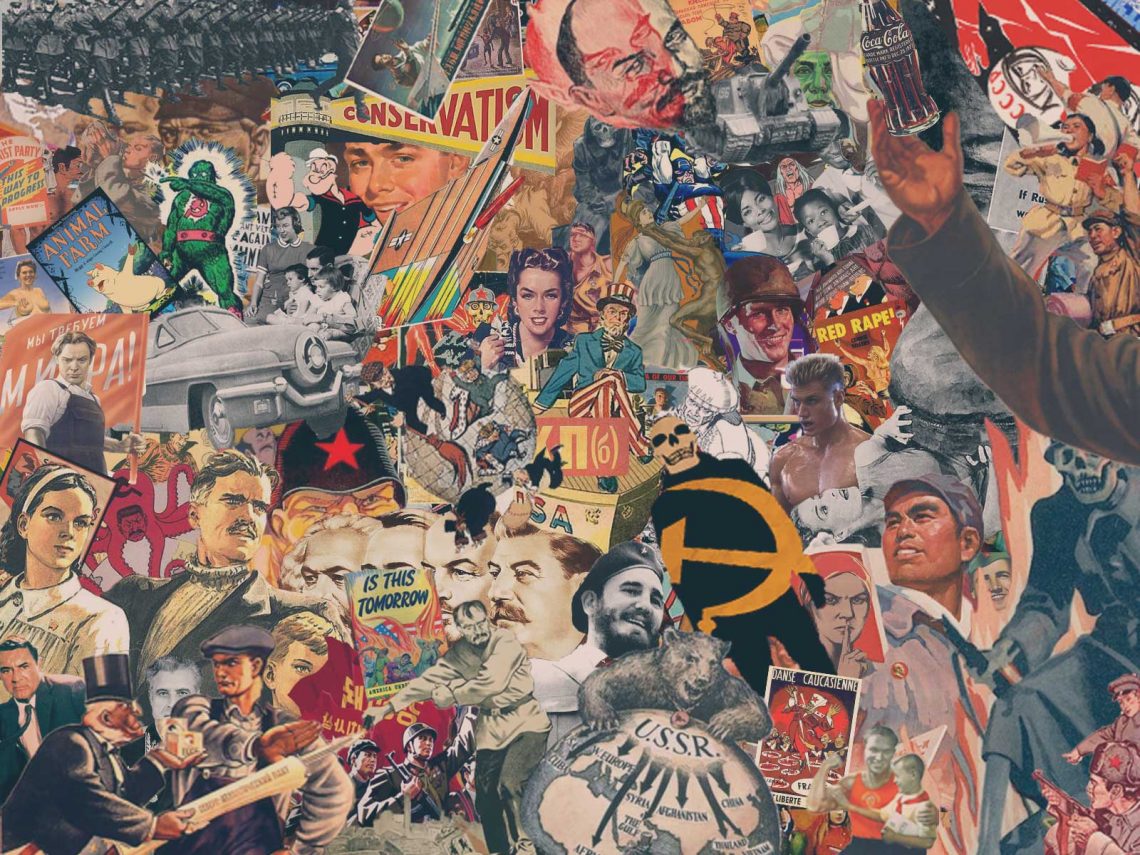
Step 2 – Create a guide. I made a concept picture in photoshop by dropping the collage on a masked guitar pic so I would have a guide to follow.
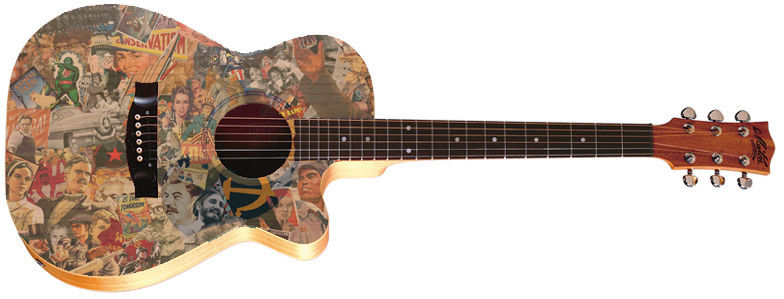
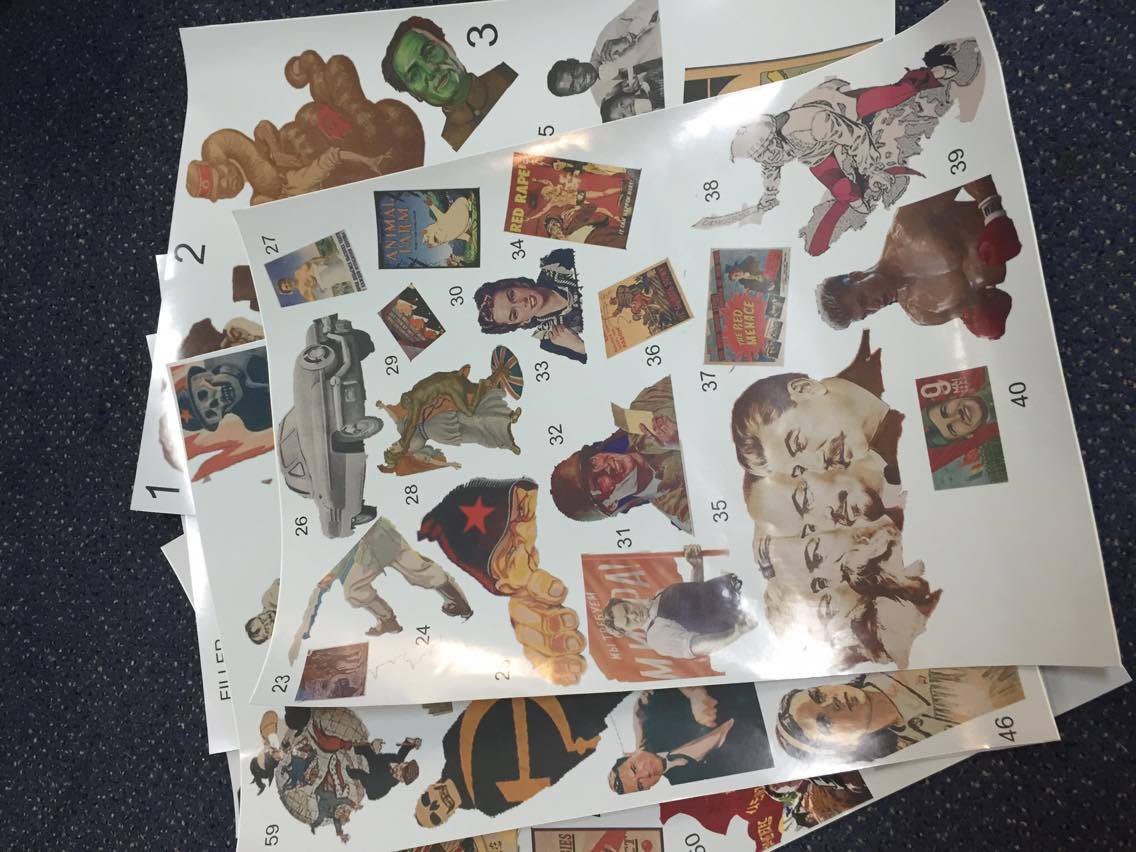
Step 3 – Deconstruct the Collage. There are a few ways you can put a collage on a guitar. I could print the collage as a whole and try and stick it on, print the collage on to paper, print to vinyl etc. I decided I would deconstruct the collage in photoshop and put the pictures onto several A3 vinyl sticker sheets. I would then cut the pictures out and stick them on to the guitar.
To do this in photoshop I highlighted each layer individually, I copied and pasted the image onto a new blank A3 image along with a number so I could recreate the sequence. When that A3 image was full I would create another one. In total I had 7 x A3 Pages. To finish the look off I put a blue layer over the work with a low opacity just the settle the colour down.
I spoke to our local Kwik Kopy and they were very helpful, within 24 hours I had these badboys…
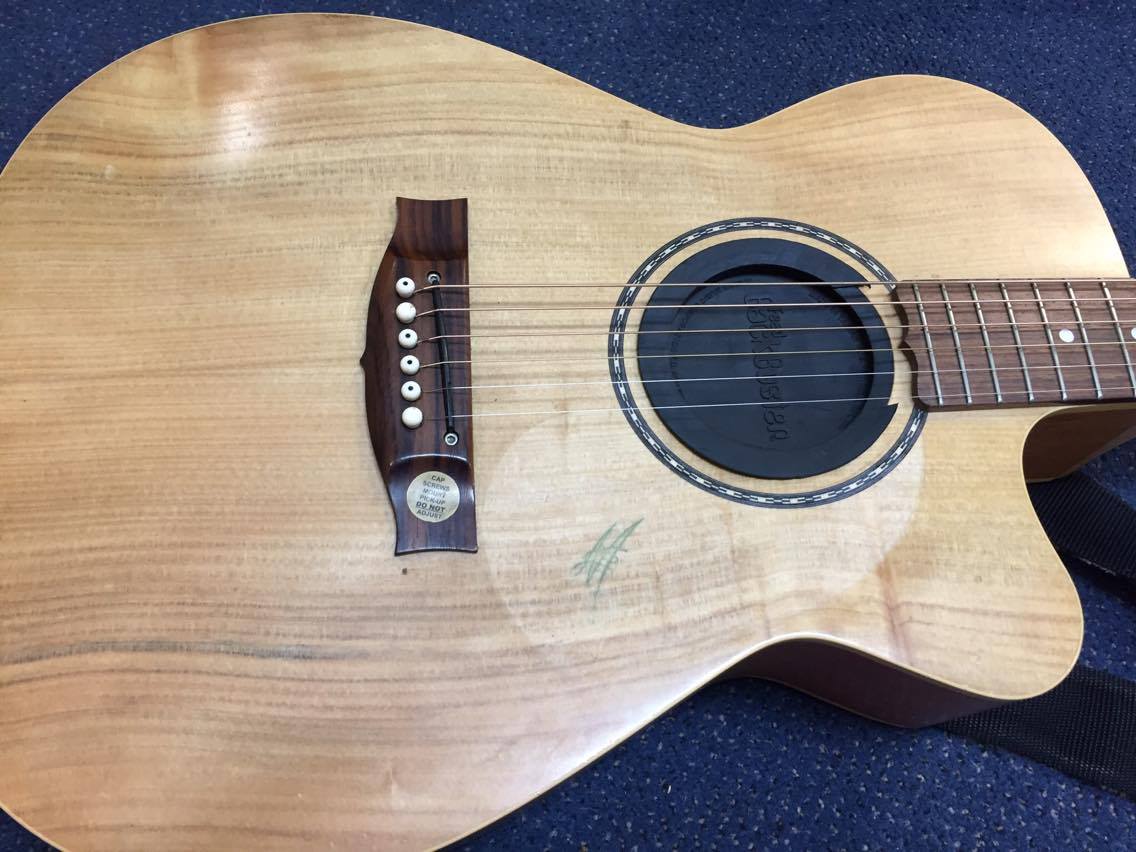
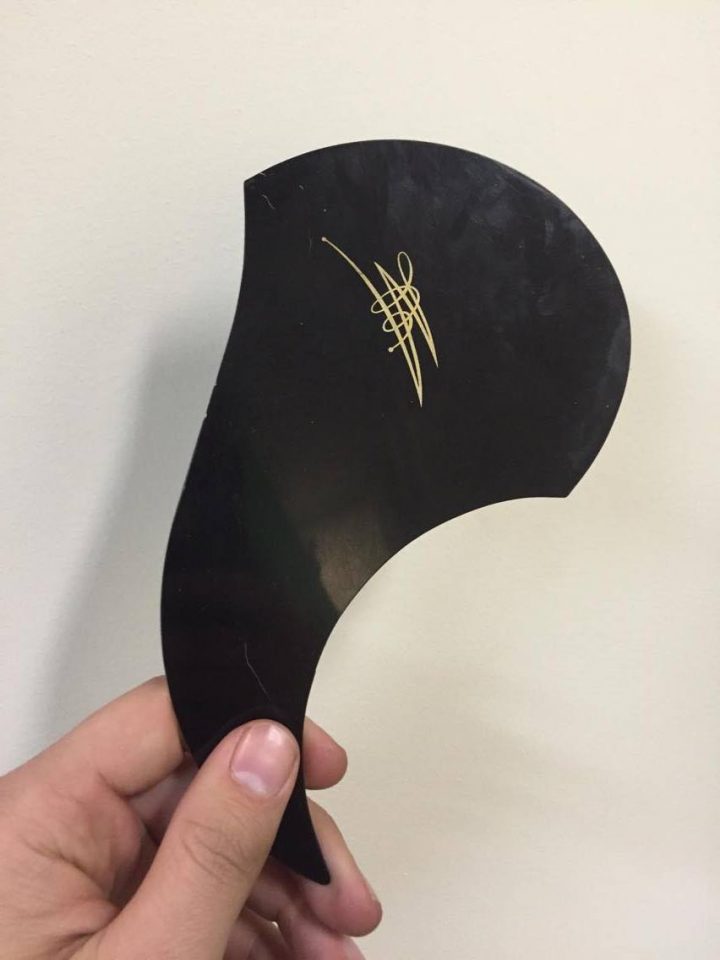
Step 4 – Prepping the guitar. I gave Maton a call and asked for advice on getting the guitar ready, they said ‘the only thing I had to do was remove the scratch plate which you can do by hand’… EASY!!! BTW I discovered there’s a Maton signature underneath the scratch plate which is a nice touch!
Step 5 – Cut and stick.
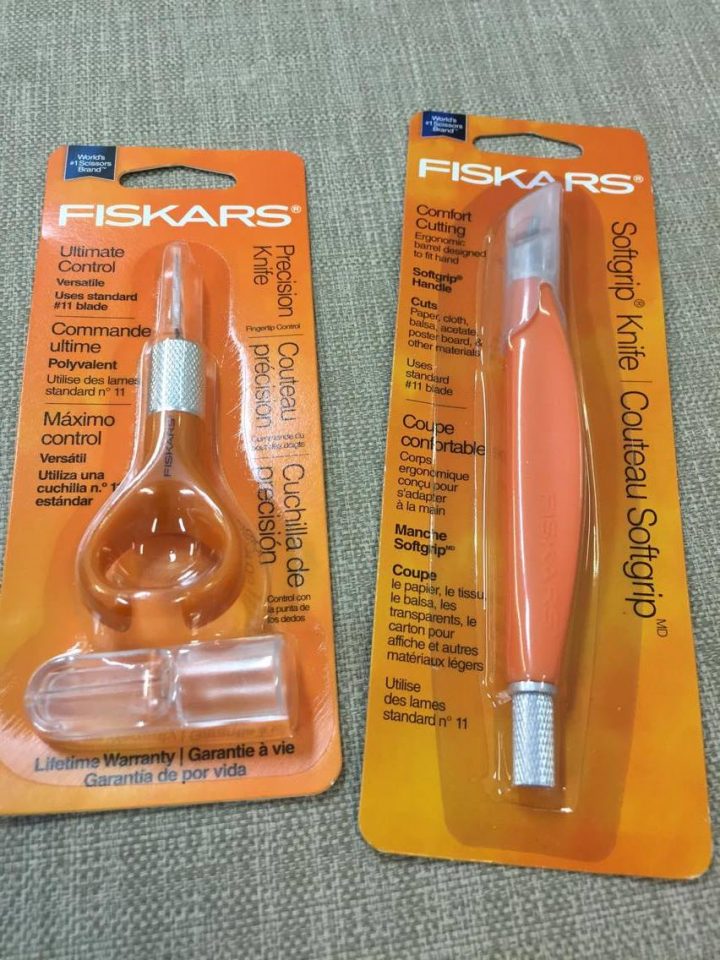
So I grabbed a couple of tools from spotlight to help me with the cutting… Along with a pair of scissors, it was actually pretty easy!
I thought it was a good idea to start covering the edges, the sound board and around the neck before I got cracking on the collage.
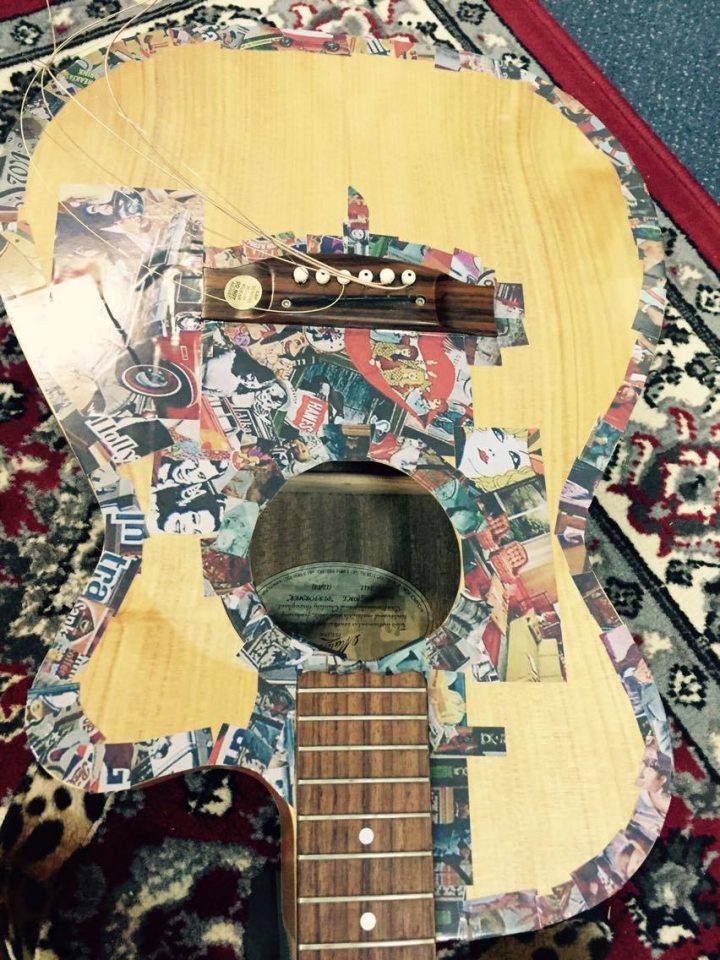
Then it was just a matter of cut and stick!
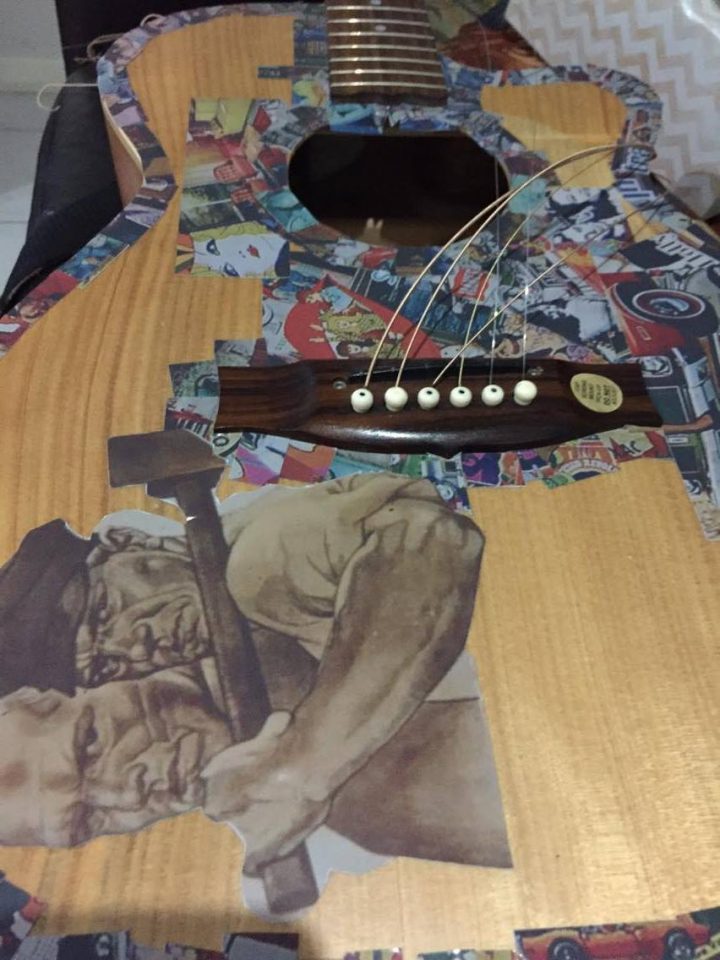
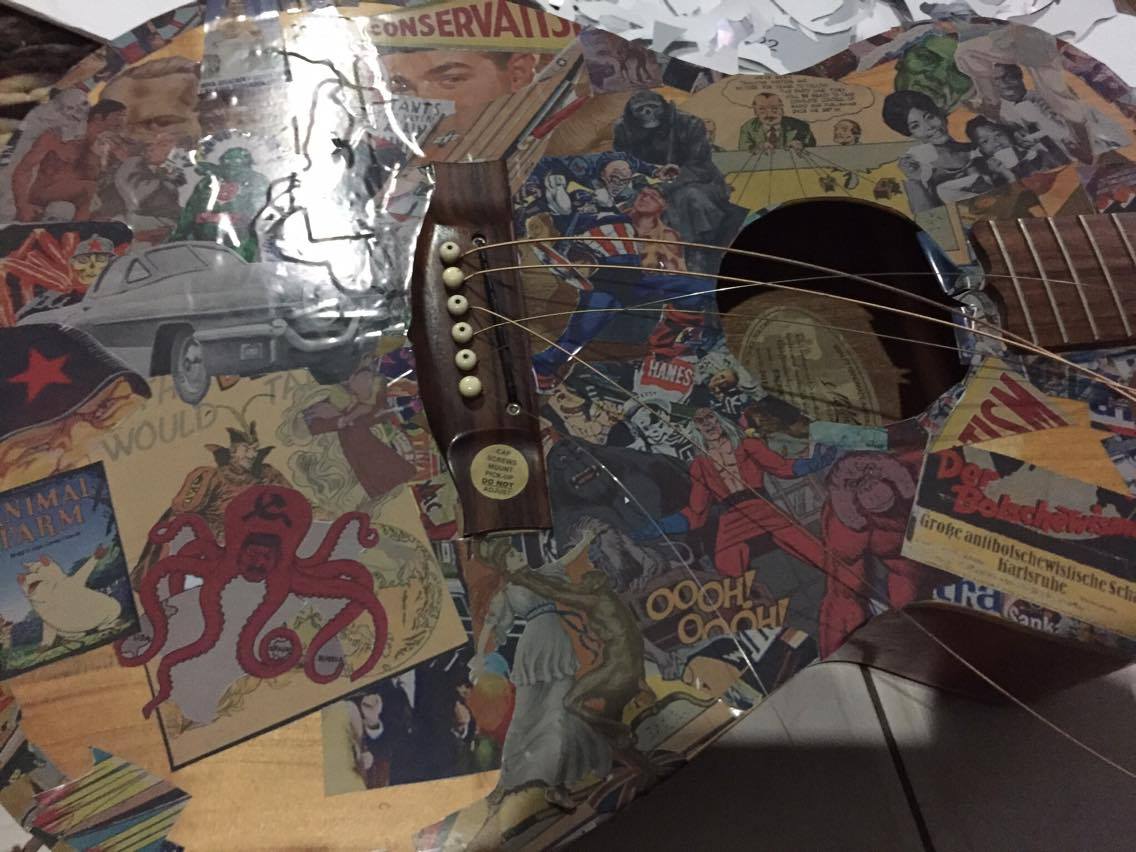
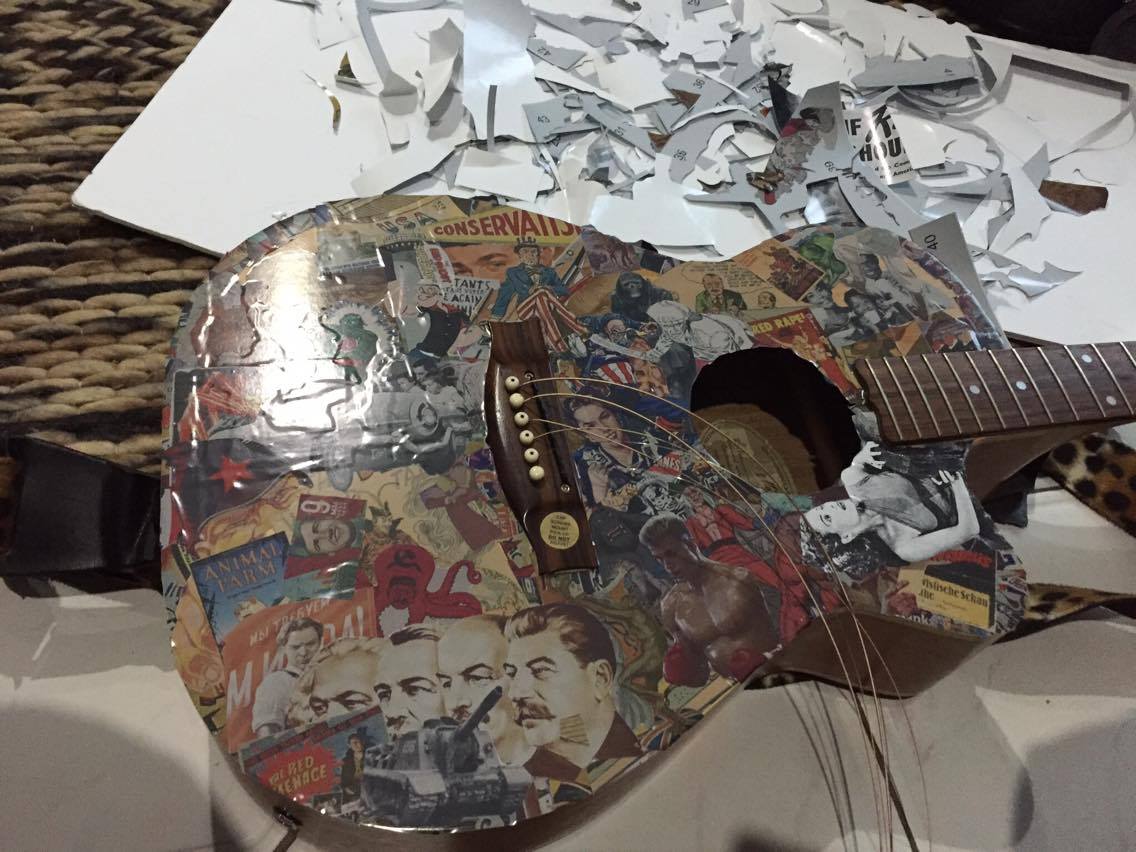
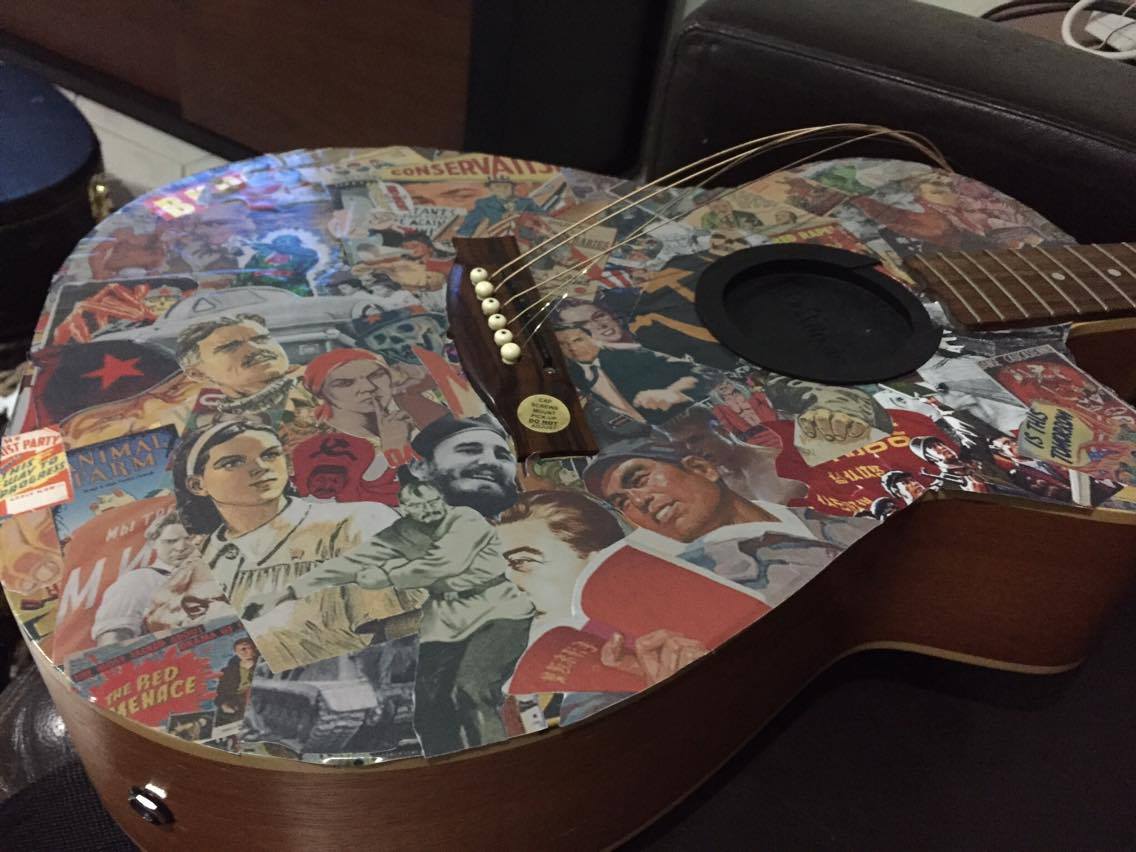
Once I finished putting the stickers on the guitar I went around the edges with the tool I bought from spotlight and then I was done!!!

